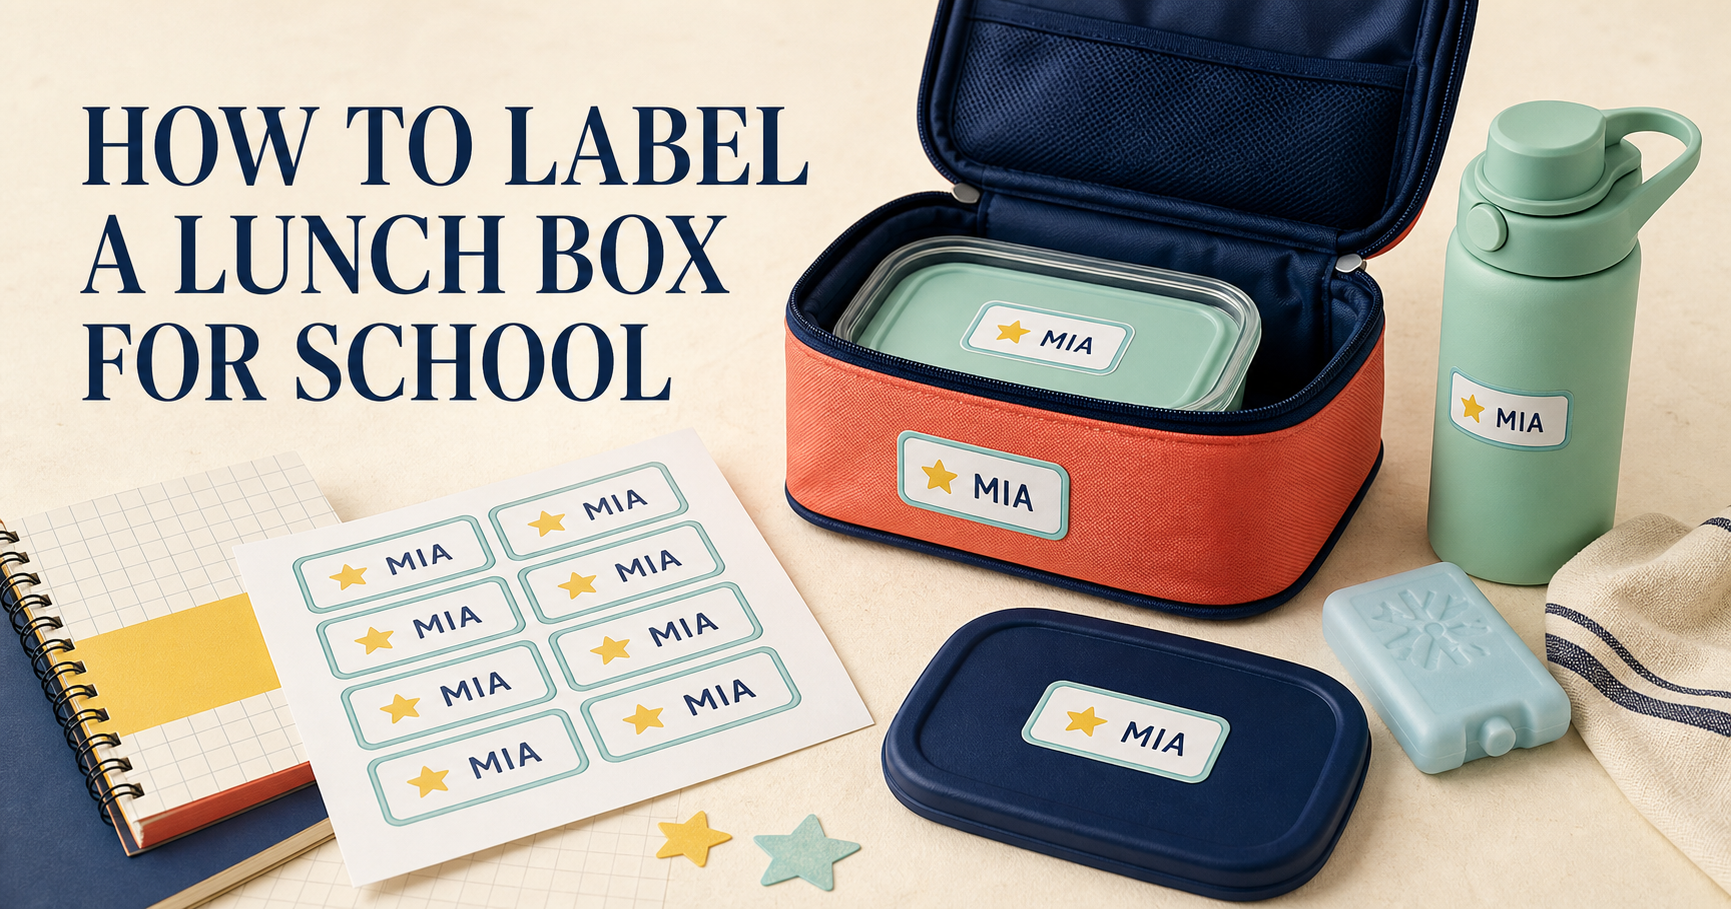
The most useful school lunch-box label is simple: add the child’s name in large, readable type, then include a class, teacher, or room only if the school uses that information to return lost items. Add a caregiver’s phone number only when the school recommends it. Leave off details that do not help staff return the lunch box.
Before printing anything, check the school or classroom supply instructions. Some schools want a full name on the outside so cafeteria staff can identify lunch boxes quickly. Others prefer a first name and last initial, or ask families to place identifying information inside. The school’s policy should decide what goes on the label and where it belongs.
Once you know the rules, you can make a free printable lunch-box label sheet with the size and details you need.
What should you put on a child’s lunch-box label?
Start with the least information needed to get the lunch box back to its owner. For many families, that means:
- The child’s first name
- A last initial or surname when children share the same first name
- The teacher, classroom, or room number when the school requests it
- A caregiver’s phone number only when it is useful and allowed by school policy
The child’s name should be the largest element. Staff need to read it quickly in a cafeteria, hallway, classroom, or lost-property area. Class information can sit beneath it in smaller type.
Avoid squeezing several lines of tiny text onto the label. More information does not automatically make an item easier to return. A short label that can be read at a glance is usually more practical than a complete contact card.
Three practical label formats
Use one of these starting points and adjust it to match the school’s instructions.
Useful when the class is small and the school asks only for a first name.
Gives staff a clear destination when an item is found away from class.
Use a phone number only when the school recommends direct family contact.
What information should you leave off?
A lunch-box label has one job: help the item return to the child. Details that do not support that job can usually stay off.
Unless the school specifically requires them, do not add a home address, birth date, daily schedule, transportation routine, or other unnecessary personal details. Avoid placing a child’s full school schedule on a lunch box that travels outside the classroom.
If you are unsure whether a phone number belongs on the outside, ask how the school handles lost lunch boxes. A class or teacher line may be enough for an item that rarely leaves campus. If the school directs families to use a phone number, place it below the child’s name rather than making it the most prominent text.
Should the label go inside or outside the lunch box?
The best location depends on who needs to read the label.
Fast for teachers, cafeteria staff, and young children to spot. Choose an area that remains visible when the box stands on a shelf or cart.
Keeps identifying details less visible while the child is traveling. Place it just inside the lid on a smooth surface away from food.
Some families use both: a large first name or recognizable icon outside, with class or contact details inside. That can make the lunch box easy for a young child to recognize without putting every detail on public display. Confirm that this approach matches the school’s rules.
Whichever location you choose, avoid seams, textured fabric, hinges, zippers, vents, and areas that bend sharply. Labels adhere and remain readable more reliably on a clean, smooth, flat surface.
Label the pieces that can become separated
Putting one label on the lunch bag is a good start, but school lunches often contain several removable pieces. A container lid can land in a sink while the matching base remains on a table. An ice pack may be placed in a shared bin. A bottle can be carried to the playground without the lunch box.
Use a smaller version of the same name and icon across the set. Consistency helps children identify their belongings and makes mismatched pieces easier to reunite.
For drink containers, use the dedicated printable water-bottle label maker. Its longer label format is better suited to narrow bottle surfaces than a large square lunch-box label.
Help younger children recognize their own lunch box
A child does not need to read every letter to recognize a consistent visual cue. Add one simple icon or color beside the name—a star, apple, pencil, or another familiar shape. Use the same cue on the lunch box, bottle, and containers.
Keep the design clear rather than crowded. One bold symbol is easier to recognize than a field of small decorations. Strong contrast also matters: dark text on a light background or light text on a dark background is more legible than two similar colors.
The icon should support the written name, not replace it. Adults still need readable text when returning an item, and children will gradually learn to connect the visual cue with their printed name.
You can create a coordinated set with the general school name-label sheet maker, which includes sizes for notebooks, pencils, containers, and other belongings.
How to make a printed lunch-box label last
Lunch gear encounters condensation, spills, wiping, and regular handling. The right material and placement will matter as much as the design.
1. Test the size on plain paper
Print one inexpensive test sheet before using adhesive stock. Cut out a label and hold it against the lunch box and containers. Check that it lies flat, does not cross a seam, and leaves enough room around handles or closures.
Print at Actual size or 100% scale so the finished dimensions match the generator preview. The home printing guide explains paper size, scaling, margins, and test-printing in more detail.
2. Choose material made for the surface
Ordinary paper can work for a lunch bag that stays dry. For hard containers that are wiped or washed, use printer-compatible label stock intended for that environment, following the stock manufacturer’s application and care instructions.
Do not assume every printable adhesive is dishwasher-, freezer-, or microwave-safe. Check the label material and container instructions before exposing either one to heat, prolonged water, or food-contact conditions.
3. Apply labels to a clean, dry surface
Oil, crumbs, dust, and moisture can prevent adhesive from bonding evenly. Clean the area according to the lunch-box or container manufacturer’s instructions, let it dry completely, and apply the label without trapping bubbles or folding an edge.
4. Protect plain-paper labels carefully
For a temporary solution, a fully dry paper label can be covered with clear tape on the outside of a lunch box. Extend the tape beyond every edge so moisture cannot reach the paper easily. Keep taped paper away from food-contact surfaces, heating areas, and places where it could peel into food.
5. Inspect the labels regularly
Replace a label when the name becomes hard to read, an edge lifts, or the surface underneath needs a different cleaning method. Update classroom information when the child changes teachers or rooms. Remove outdated contact details rather than covering them with several layers.
A five-minute lunch-box labeling checklist
Use this checklist before the first school day or whenever a new lunch box arrives.
- Read the school’s labeling instructions.
- Choose a full name, first name and initial, or first name only.
- Add the requested teacher, class, or room information.
- Decide whether contact details are necessary.
- Choose an outside, inside, or combined placement.
- Pick one easy-to-recognize icon or color.
- Label the bag, containers, lids, bottle, and removable pieces.
- Print a plain-paper size test.
- Apply the final labels to clean, dry surfaces.
- Check that every label is readable and securely attached.
Doing the whole set at once takes only a few minutes and prevents the familiar mystery of a container base with no lid—or a lid with no owner.
Make a printable lunch-box label sheet
Create a full page of personalized lunch-box and food-container labels without an account. Add a name, optional class or teacher, and an optional phone number; choose a style and paper size; then download a PDF or PNG on your device.
The information you enter stays on your device, as explained in the SchoolSheet.pro privacy policy.